
„InDesign“: įterpkite šriftus - štai kaip
„Adobe InDesign“, norint eksportuoti failą kaip PDF, turi būti įterpti šriftai. Priešingu atveju kai kurie šriftai gali būti neišvedami arba gali būti išvedami neteisingai. Mes parodysime jums tikslią procedūrą.
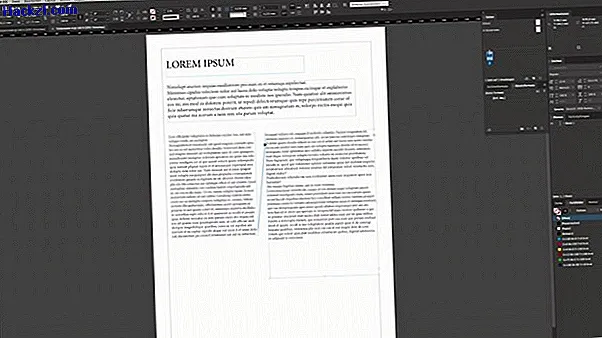
Įdėkite šriftus į „InDesign“
Yra daugybė šriftų, kuriuos galite naudoti „InDesign“ projektui. Taip pat galite rasti daug nemokamų šriftų, kuriuos galima atsisiųsti iš interneto, tačiau spaustuvė jų galbūt neišsaugojo savo kompiuteryje. Norėdami įsitikinti, kad viskas atrodo tiksliai taip, kaip suprojektavote „InDesign“, turite įterpti šriftus. Šriftas pridedamas prie spausdinimo failo, taip sakant, kad visi galėtų tinkamai atidaryti ir peržiūrėti failą.
- „Adobe InDesign“ paprastai įterpia automatiškai naudojamus šriftus.
- Išimtis: kai kurie šriftų gamintojai draudžia įterpti šriftą. Tam yra teisinių priežasčių - gamintojai nenori, kad šriftas būtų perduodamas.
- Norėdami įterpti visus šriftus, pasirinkite funkciją „Eksportuoti PDF“ kaip įprasta, tada kairiajame meniu pasirinkite „Advanced“.
- Dabar galite nustatyti skiltyje „Šriftai“: „Iš dalies įkelkite šriftus, jei naudojamų simbolių dalis yra mažesnė nei X%“. Čia įveskite 0, kad įdėtumėte visus simbolius.
Įterpti šriftus: kaip patikrinti PDF failą
Jei nesate tikri, ar įterpti visi šriftai, galite lengvai tai patikrinti naudodami „Adobe Acrobat“:
- Atidarykite savo PDF failą naudodami „Adobe Acrobat“ ir dešiniuoju pelės mygtuku spustelėkite dokumentą.
- Dabar atidaromas kontekstinis meniu, kuriame jūs turite spustelėti „Dokumento ypatybės“.
- Skyriuje „Šriftai“ išvardijami visi šriftai, esantys PDF dokumente. Už kiekvieno šrifto matyti, ar jis įdėtas.
- Jei šrifto nepavyko įterpti, turite jį konvertuoti į kelius. Norėdami tai padaryti, pasirinkite tinkamą teksto rėmelį „InDesign“ ir spustelėkite „Konvertuoti į kelią“ skirtuke „Šriftas“.
- Kitame puslapyje mes parodysime gerų internetinių spausdinimo įmonių palyginimą.